So you’ve got your website set up to do rentals. AIM is connected to your AIMStorefront, and you can get through the rental checkout process, receive funds, and send email receipts – all automatically using AIM and AIMStorefront together. This all needs to be working before you can move forward with this next process.
If you allow anonymous rental checkouts, we advise you to turn off anonymous rentals and force your customers to create a website account before stepping through the rental process. If you are going to set your website to allow anonymous rentals, you'll need to be sure that you have your customers create storefront accounts and then you can link those to their account in AIM.
This feature assumes that all of the requirements above have been met. When your customers visit your website and want to make a rental payment, you'll want to direct them to their payment page by following these steps:
Create Links
To allow access for your customers to view history and make rental payments online, we suggest you create links in the template top nav and footer for these pages:
- /aegethistorylist
- /aepostpayment
Allow Access
Now that you have your AIMStorefront set up properly to allow customers to navigate to those pages, you need to make sure your linked customers will have access to view and post payments from the website.
In AIM go to "Maintenance > Active-e > Active-e Setup" and click on "E-Commerce & API".
Navigate to the "3 API" tab and make sure you've checked "Automatically grant API access for all web customers"

When all of the above steps have been completed, you should be able to see your pages on your website:
yourstore.com/aegethistorylist
yourstore.com/aepostpayment
Add Content
If you would like to add text or images to these pages you can use pre-existing topics in your website. Each page listed below can have additional content by editing the topics in your website /aesys console:
/aepostpayment
Topics:
- aeC2BPaymentConfirmation – message that appears once a payment is made.
- aeC2BPaymentHeader – this topic appears at the top of the page but below the header when it is published and contains content. We recommend adding this code to the html view of the topic in addition to your custom text:
<a href="aegethistorylist.aspx" class="btn btn-lg btn-primary">View Account History</a><br /> - aeC2BPaymentMailer - Once a customer makes a payment the message in this topic will be sent to them. We recommend adding this code to the html view of this topic:
Ref #(!C2B_PAYREF!)<br />
$(!C2B_PAYTOTAL!)<br />
(!C2B_CUSNAME!)<br />
(!C2B_CUSADDRESS1!)<br />
(!C2B_CUSCITY!), (!C2B_CUSSTATE!)<br />
(!C2B_CUSPHONE!)
/aegethistorylist
Topic:
- aeC2BHistoryListHeader – this topic appears at the top of the page but below the header when it is published and contains content. We recommend adding this code to the html view of the topic in addition to your custom text:
<a href="aepostpayment.aspx" class="btn btn-lg btn-primary">Make a Payment</a><br />
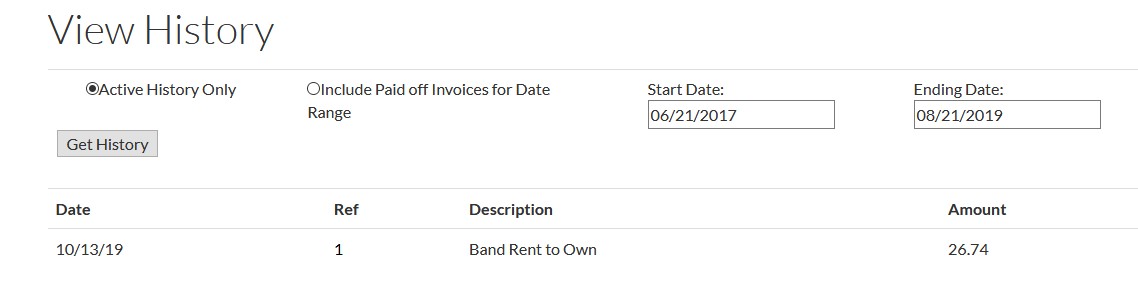
Viewing Rental Information
Once linked customers have access to the rental management pages, they can view active rental data by clicking on the reference code ("Ref" column), found on /aeGetHistoryList and /aePostPayment pages:

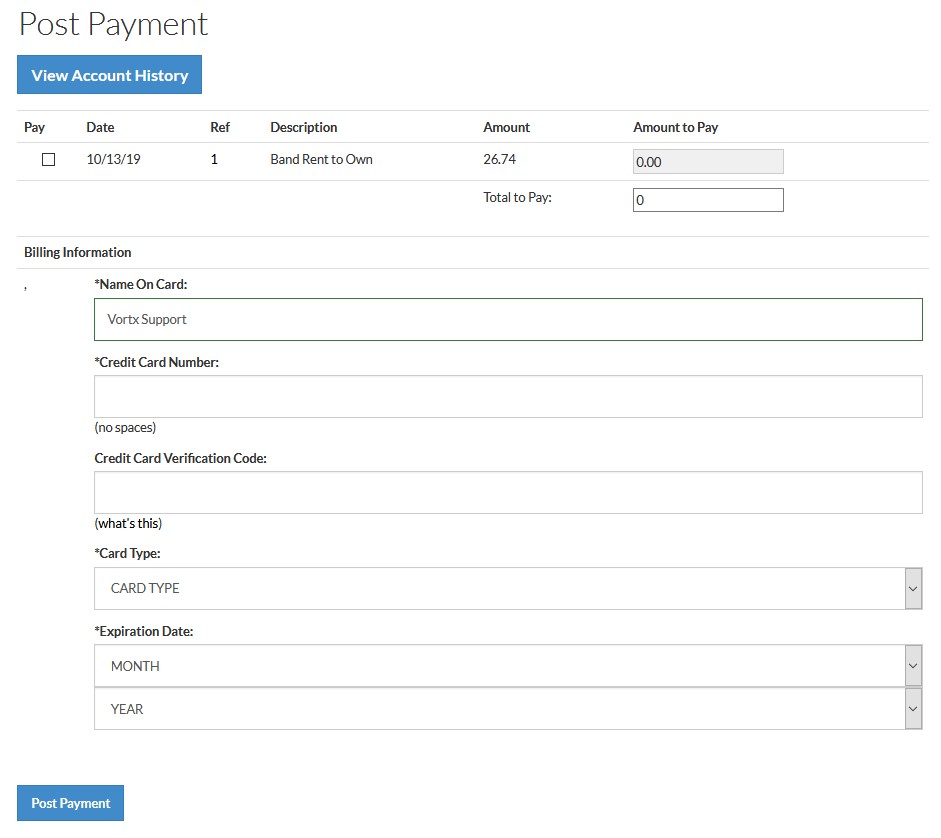
Making Rental Payments
Linked customers have the ability to make payments on their rentals when they are not on an auto-payment plan, or potentially make additional payments including payoffs.
To make a one-time payment, the customer can navigate to the /aePostPayment page, where they can select a current rental to pay by checking the box in the left side "Pay" column, then completing the payment info form, and click the Post Payment button.
In order to allow customers to make a payment that is different than the scheduled payment, the admin must set the Configuration - Settings - aeVariableRentalPayments TRUE and Refresh Store in the /aesys console. Once this option is enabled, the "Amount to Pay" field for the selected rental must be entered by the customer. They can then complete the form and Post Payment.
NOTE: All payments other than the regularly scheduled amount must be manually posted in AIM!
Example:
- Linked customer views their Rental information using the Ref link to determine their Total Payoff amount.
- Customer then accesses the /aePostPayment page and selects the rental to pay.
- Customer enters the payoff amount in the "Amount to Pay" field and Posts Payment.
- Store admins then review the payment request in AIM and manually posts the payment to the account.
NOTE: The value for "Total Payoff" may be less than than the "Current Balance" if a Discounted Payoff value is configured in AIM.
For Help with AIM configuration and payment management, contact TriTech for assistance.
Was this article helpful?
That’s Great!
Thank you for your feedback
Sorry! We couldn't be helpful
Thank you for your feedback
Feedback sent
We appreciate your effort and will try to fix the article