If you are on AIM v12, and have multiple locations set up in AIM, stock on hand can now be displayed on product pages specific to physical location, alongside your own custom message. This can help your shoppers know how much inventory you have available in each store.
*If you are unable to add multiple locations in AIM, you will need to contact Tri-Tech to add the ability to manage multiple locations in AIM. There may be a fee associated with adding each additional location.
Here's how to set it up:
Set Locations in AIM:
In AIM, go to Maintenance > General > Locations. Make sure all your locations are showing in the left column. If you need to add another location, Click "Add" and fill out your location information. Each location needs a unique "Code" (we recommend using the first initial or two) and a "Name" (such as Dubuque), nothing else. Click to Save your addition.

Set Inventory in AIM:
In AIM, go to Modules > Inventory > Add/Change Inventory > Change inventory
Enter a product SKU and select "OK"

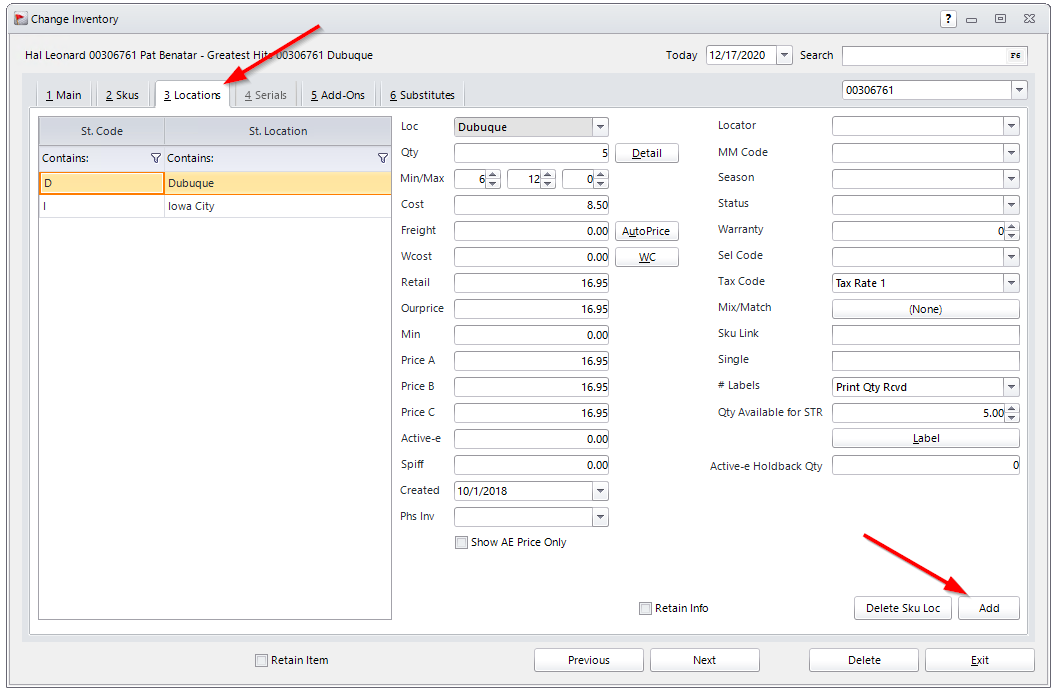
You will see a screen like this, it may not have all of your locations, but that's OK. We need to add inventory to each location, so start by hitting the "Add" button.
On this next screen (After you've click "Add") You can add inventory to a specific location. You can set Qty and Min/Max for each location. Be sure to hit save after filling out each location.
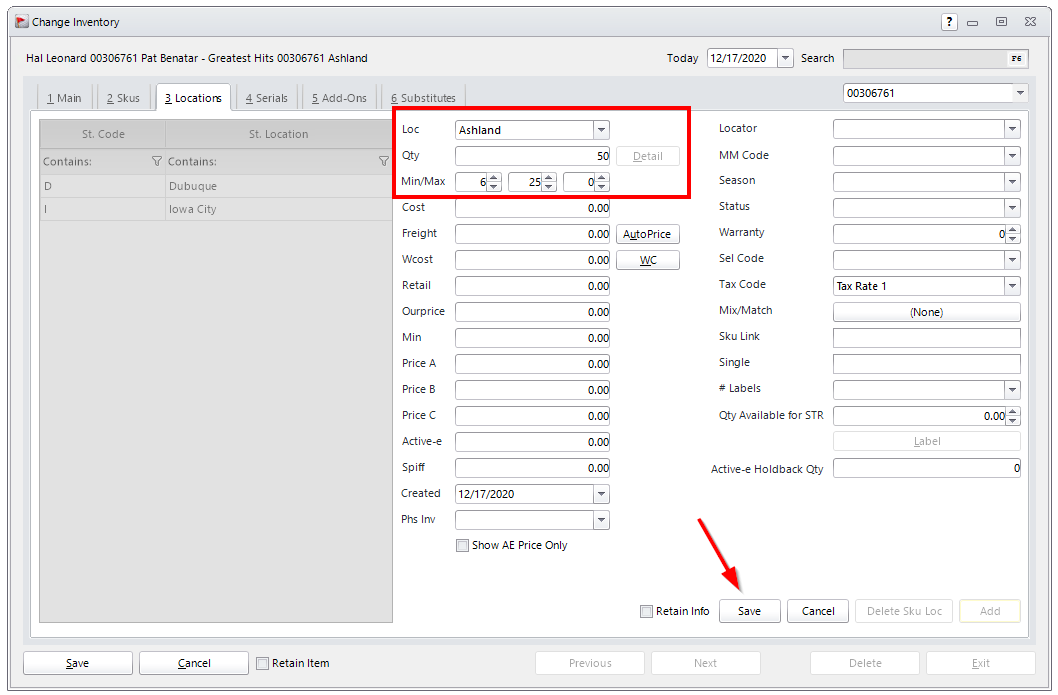
You can also edit existing locations by simply selecting the location in the left column and then editing the Qty and the Min/Max for each location. When you are finished editing your inventory for each location, be sure to save the module in the lower left corner of the screen.
You should be configured in AIM. Next we need to move to the AIM Storefront and configure a few things before the locations will show on your sales pages.
Edit & Publish Location Topics in AIM Storefront:
When locations exist in AIM, your AIM Storefront will automatically create matching topics in your AIM Storefront website. Each of these topics will be displayed on your product page along with the quantity on hand for that location.
In AIM Storefront, log in to your /aesys admin console, and go to Content > Manage Topics
In the Topic Name filter, type in the name of the location you added in AIM and "Apply Filter". Then, just click on the blue topic name in the results.

The first time you open the topic, it should look like this:

Use the editor to adjust the content, change the text, add a picture of your location storefront, or a map, or anything else!
Be sure to keep the name of the location and the token (!LocationInventory!) in place - you can move them around in the editor, but don't delete them! The token is replaced by your location's inventory quantity when visitors view you product pages.
When you're finished editing, check the Published box to publish the topic, then click Save. Repeat these steps for each Location you created in AIM.
Enable product page display
In AIM Storefront, log in to your /aesys admin console, and go to Configuration > Settings.
In the search box, type in Edition.InventoryByLocation.Enabled . Edit the setting, and set it to Yes. Save the new setting and click Refresh Store in the top right corner of your admin console.
WARNING: Enabling this setting ( Edition.InventoryByLocation.Enabled ) when the AIM setup is not ready will cause a significant delay in product page loading.
Visit a product page that has inventory defined by location in AIM, and you should see your topics appear with quantities available.
Here's how it will look on your product pages if you do not 'dress up' the topic:

*Actual layout may vary depending on which product XML display package you've chosen for your products.
Troubleshooting:
If after following the steps above, you're still not seeing your inventory displayed by location on your product pages, you might be missing a Manufacturer Part # ("Model" in AIM), or you might be using a modified layout.
Confirm that your product has a Manufacturer Part Number populated by locating the product in the AIMStorefront admin console. ( Products > Manage Products ). This should match your Model field specified on your inventory in AIM.
If you've confirmed your product has a Manufacturer Part number, and it's still not displaying inventory, check to see if you have a modified layout. Modified layouts (XmlPackages) are not automatically updated when we update your website with new releases. You can either merge the new code from the root XmlPackages folder into your Skins XmlPackages folders (advanced users!), or remove your modified layout.
You can remove your modified layout by logging in to your website's FTP account and navigating to your Skins/Skin_1/XmlPackages folder ("Skin_1" may vary depending on your store's configuration). Look for files like: product.*.xml.config , download them to your computer to make a quick backup, then delete them in your FTP client.
BEFORE REMOVING any Xml Packages, be sure to select a different one for the product from the root directory (will not be designated with a skin in the selection drop down). You will want to identify the different xml packages used and set them appropriately to the products in your AIM module as well.
If you're not sure how to go about this, please submit a ticket, our team is standing by ready to help!
Was this article helpful?
That’s Great!
Thank you for your feedback
Sorry! We couldn't be helpful
Thank you for your feedback
Feedback sent
We appreciate your effort and will try to fix the article