By default the website footer will include 4 credit card payment icons in the site’s footer. Not all store owners will use all 4 credit card types so you may ask yourself, “How do I remove or add credit card payment icons to this section of my site?”

First, let’s talk about how these credit card payment icons are generated in the footer. In the topic called “0-template-footer-menus”, there is a reference to an XML package and this package pulls in the different credit card types set within your store. Here is a screen shot of this XML package being referenced within the topic in HTML mode:

Now, let’s look at the credit card types that are setup in the store. In the admin console, go to Configuration > Credit Card Types. On this screen, you can edit and/or delete existing credit card types or create new ones.
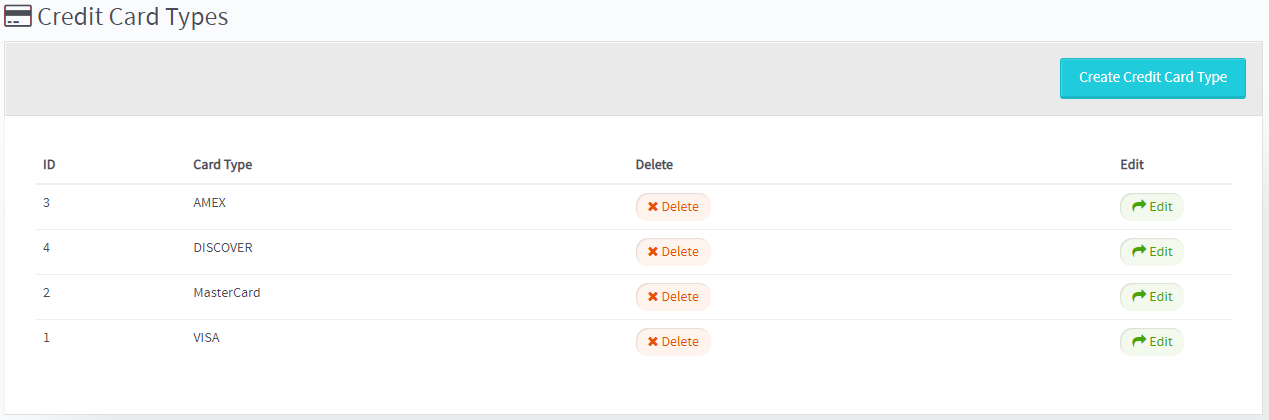
The card types listed here will be visible to your customers on the payment page during checkout and will be sent to the payment gateway if processing live transactions, so they must be valid card types.
*Adding a new credit card type might require a customization of the gateway code. Please contact your developer for assistance.
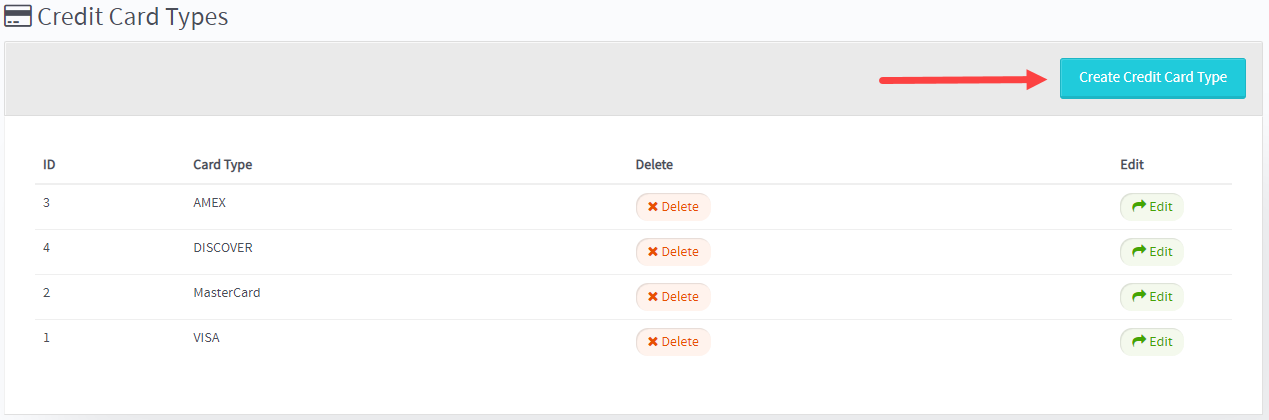
Adding a new credit card type
Select the “Create Credit Card Type” button at the top Credit Card Type page:
Input your new Credit Cart Type, save your change’s and then select the Refresh Store button in the upper right of the admin console

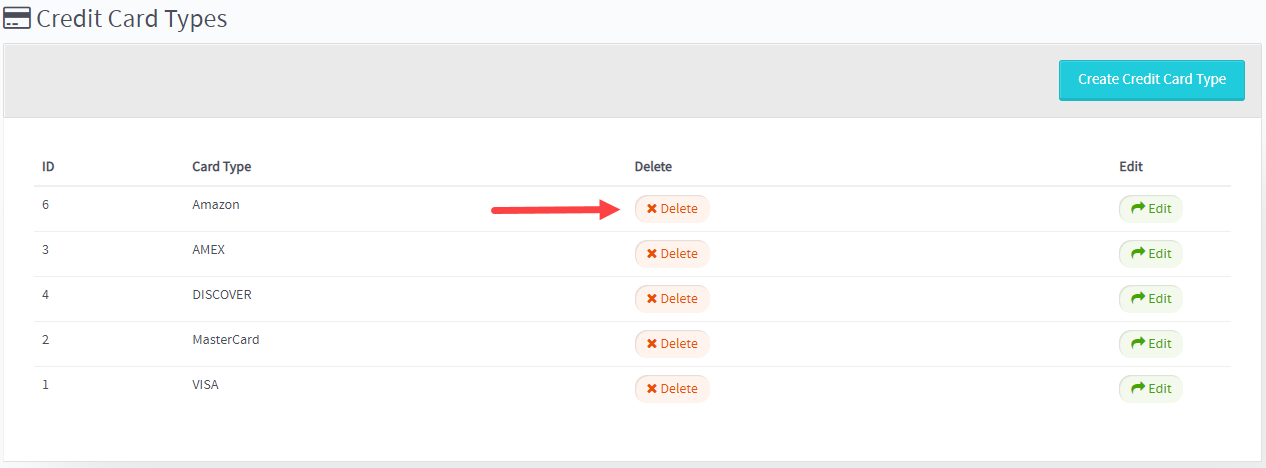
You can now see the new credit card type under Configuration > Manage Credit Cards

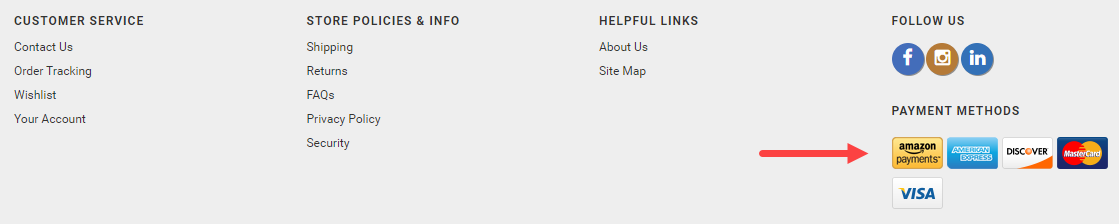
As well as under the Payment Methods listed in the site’s footer.
Note: Make sure to refresh the front end of your website after adding in the new credit card type:
Removing a credit card type
Select the “Delete” button next to the credit card type you would like to remove and then select the Refresh Store button:
Was this article helpful?
That’s Great!
Thank you for your feedback
Sorry! We couldn't be helpful
Thank you for your feedback
Feedback sent
We appreciate your effort and will try to fix the article