Tax classes allow store administrators to assign different tax rates to different products, as is required by law in some areas. While many stores will be able to account for all the tax rates they need with the default classes that come preloaded in the software, new classes can easily be added from this page. Existing classes can also be edited or removed.

To create a new tax class, simply click Create and fill in the required fields.
- The *Tax Class is the Name of your new tax class.
- The Tax Code is optional and serves as a notes field for store administrators, or can be used to match with special tax codes when using the Avalara AvaTax service. Note when using the Avalara tax service that the shipping tax class should be set to "FR" for the Tax Code value.
- The Display Order field is used to determine the order of application for order-level Promotions (see below for detailed example).

Products are assigned to tax classes through Manage Products, through the Tax Class dropdown menu.
NOTE: AIM only sets a product as taxable or not (the variant level setting). If needing to set a tax class different than the default Configuration - Settings - Admin_DefaultTaxClassID which is '1' by default for the Goods class, then it must be done in the cart.

Tax Class Display Order and affect on order-level promotions
Example:
Product 1 - $10, 8% tax rate, tax display order 2 (Shipping)
Product 2 - $50, 10% tax rate, tax display order 1 (Goods)
Product 3 - $20, 12% tax rate, tax display order 3 (Tobacco)
Promotion: $65 off, order level discount
Order the products by tax display order (Product 2, Product 1, Product 3) and remove the order level discount line by line until it's used up:
65 - 50 leaves 15 discount remaining and nothing to tax
15 - 10 leaves 5 discount remaining and nothing to tax
5 - 20 leaves no discount remaining and 15 remaining to tax
Product 2: 0 * .10 = 0
Product 1: 0 * .08 = 0
Product 3: 15 * .12 = 1.80
80 + 1.80 - 65 = $16.80 total
Tax Rates
First, you must set up tax rates. This can be done at the country, state, or zip code level.
If you set up tax rates at multiple levels (ie state and zip), the rates will be added together to get the final tax rate.
Products
Next, you must make sure that your products are taxable, and that they are assigned to the correct tax class. Do this through Manage Products by navigating to the product in question and checking these 2 attributes:
Tax Class

This is set at the parent product level, and should be set to whatever class you created tax rates for in the step above.
Is Taxable

This is set at the product variant level. If this is set to yes then the product will be taxed at the rates you set up for the assigned class. If set to no, tax will be ignored for this product.
Customer Status
If your site is using customer levels, be careful with this setting:
If this is set to yes, then any customers in this level will not pay taxes, regardless of how you have everything else set up. Be sure that this is only set to yes for customers you intend to be tax-free (non-profit organizations, etc).
Tax Calculation Mode
Finally, you must tell the software whether it should charge tax on the billing or shipping address (this varies by law in different locations and product types, though the vast majority are Shipping address based). This is done with the TaxCalcMode Setting. If set to 'billing', orders are taxes based on the billing address. If set to 'shipping' (the usual), orders will be taxed based on the shipping address.
On this page, store administrators can set up tax rates based on the zip code the customer registers in their shipping address. If multiple levels of taxes are set up (such as state and zip code), the customer will be charged the cumulative amount.


Adding a Zip Code
The store does not come preloaded with any zip codes. To add a zip code to charge taxes in, simply click Create and fill in the required fields. When finished, click Save.
NOTE: Generally if using Tax by Zip Code, it is most prudent to obtain a spreadsheet of current estimated tax rates by zip code and have them imported in bulk. There is no tool available to do that in the admin console, but you can contact Vortx Support to have it done for you for a fee. This should ideally be done at least annually, and is not as accurate as Avalara AvaTax.
Taxes by State/Provinces
From the Configuration Menu, click Manage States/Provinces
On this page, store administrators can set up tax rates based on the state/province the customer registers in their Shipping address.
NOTE: If multiple levels of taxes are set up (such as state and zip code), the customer will be charged the cumulative amount.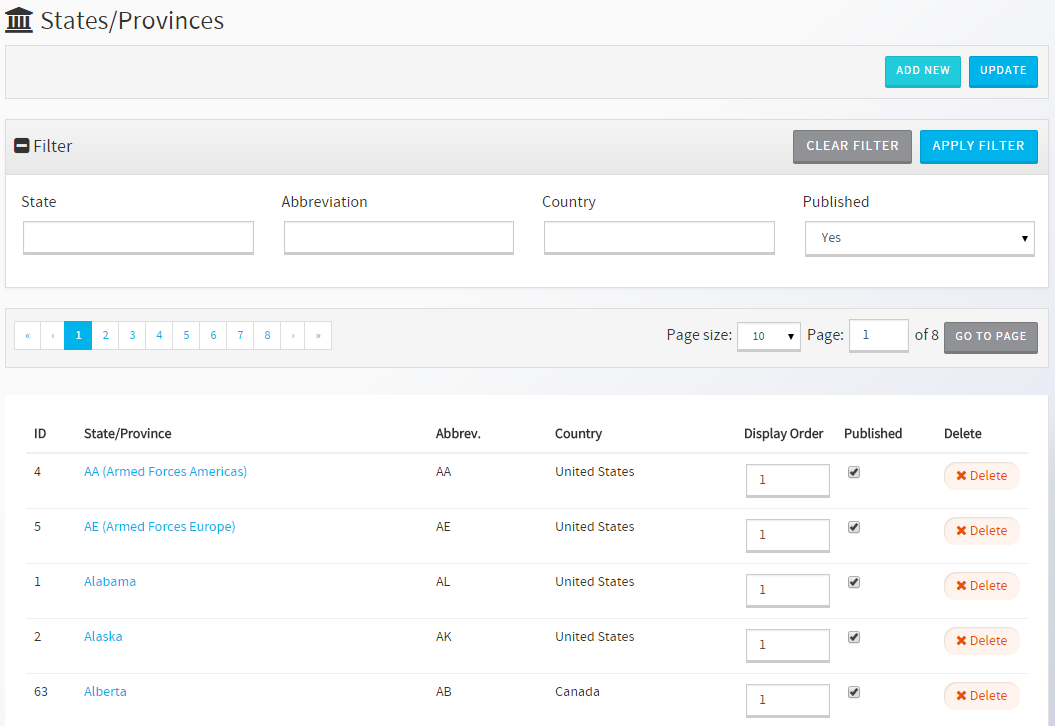
To change the tax rates for a state, click the State/Province name, enter the desired values for each tax class, and click Save to save the changes.

Taxes by Country
From the Configuration Menu, click Manage Countries
On this page, store administrators can set up tax rates based on the country the customer registers in their Shipping address.
If multiple levels of taxes are set up (such as country, state and zip code), customers are charged the cumulative amount. This is particularly useful for countries like Canada which has multi-level taxation.

To change the tax rates for a country, click the Country name, enter the desired values for each field, and click Save to save the changes.

Was this article helpful?
That’s Great!
Thank you for your feedback
Sorry! We couldn't be helpful
Thank you for your feedback
Feedback sent
We appreciate your effort and will try to fix the article